Best photo editing software 2026 is really just the editor that matches how you work: quick fixes and exports, organized RAW processing, or pixel-level retouching with layers. Choose based on what you edit most (products, portraits, social posts), your device (especially Mac), and how fast you need to go from import to share. The payoff is consistent-looking files with less time burned.
You don’t need “every feature.” You need the handful you’ll use every week, in a layout you don’t have to wrestle. Imagine this: you shoot 60 product photos on Sunday, you’ve got a Shopify refresh on Monday, and your visuals still look too warm, slightly tilted, and inconsistent from one item to the next. That gap usually isn’t talent. It’s picking an editor that makes repeatable fixes simple and exports the right sizes fast.
I’ve watched people spend months learning software they don’t enjoy, then stop editing altogether. Then again, I’ve seen the opposite: a simpler app, a clear routine, and suddenly they post three times a week because editing feels doable. Before we compare options, it helps to agree on what “photo editing” covers. The broad definition is captured well in photo editing (overview), but your choice comes down to your day-to-day: culling, color, cropping, retouching, text overlays, and export formats that load quickly.
What is the best photo editing software in 2026?
The best photo editing software in 2026 is the one that fits your editing depth and your tolerance for complexity: a RAW catalog app for volume work, a layer-based editor for detailed retouching, or a lightweight option for quick, consistent exports. If you shoot lots of images, speed and organization usually matter more than fancy effects.
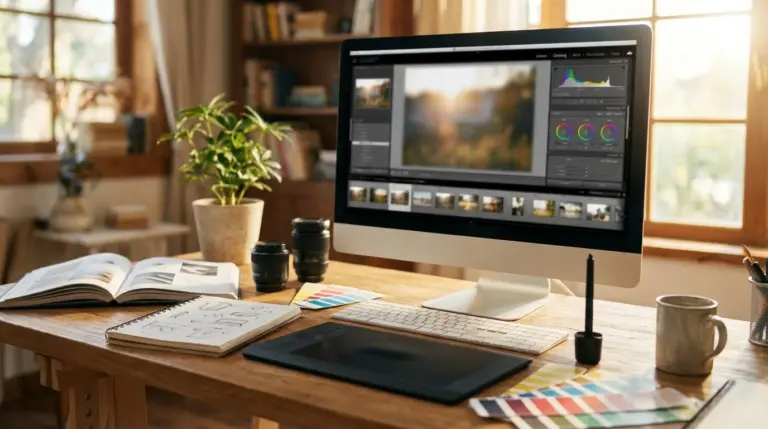
Start by mapping your workflow in plain language: where your photos live, how you pick keepers, which edits you repeat, and where the images end up (Instagram, Etsy, client galleries, your website). Once you do that, the “best” choice usually falls into three lanes. A Lightroom-style catalog editor shines for batches of RAW files and consistent color. A Photoshop-style pixel editor shines for composites, precise selections, and advanced retouching. A simpler editor shines when your priority is fast, clean output.
In my experience, people get stuck because they compare features in isolation instead of timing the whole loop from import to export. What works for me is aiming for a setup where you can open a folder, apply a repeatable look, make a couple of local fixes, and export five sizes without hunting through menus. For example, if you’re posting to Instagram and also updating a product page, you’ll want presets, crop ratios, and reliable export settings, not a 3D toolset you’ll never touch.
To keep your pick practical, use a quick scorecard. Weight what matters to you rather than what sounds impressive. Below is a straightforward comparison you can adapt in a note app.
| Category | Typical options | Best for | Tradeoff |
|---|---|---|---|
| Catalog + RAW editor | Lightroom Classic, Capture One, DxO PhotoLab | High-volume shooting, consistent color | Subscription cost or steeper setup |
| Layer-based pixel editor | Photoshop, Affinity Photo, GIMP | Retouching, composites, precise masking | Learning curve, slower for batches |
| Quick editor | Apple Photos, Photoshop Elements, Canva | Fast fixes, social graphics, simple exports | Limited local adjustments and masking |
| Film-look editor | Exposure, Luminar | Stylized looks and creative presets | Can feel limiting for technical fixes |
If you want a deeper decision framework, the checklist in how to choose photo editing software for beginners makes it easier to match your needs to the right category without overbuying.
What is the best free photo editing software for Mac?
The best free photo editing software for Mac is Apple Photos for most casual and hobby use because it’s built in, fast, and strong at the basics: exposure, color, cropping, and simple retouching. I treat it as your baseline, and I honestly think it’s worth mastering before you pay for anything.
Apple’s own documentation spells out what you can do with it, including adjustments, filters, cropping, and library organization, so you can confirm capabilities without guessing. Start with the Apple Photos User Guide for Mac and build a tiny routine: straighten, crop, fix white balance, lift shadows, reduce highlights, then export at the size you need. In practice, that sequence solves a lot of real problems for store owners and creators.
Still, “free” often means “limited.” Photos doesn’t give you the same masking control you’d get in a layer-based editor, and it isn’t designed for heavy RAW batch processing on big shoots. On top of that, it’s stable and quick, so you won’t lose momentum. When someone tells me they feel overwhelmed, I usually push them to master the built-in editor first, then add a more advanced app only after they can clearly say what Photos can’t do for them.
If you want free options beyond Apple’s app, you’ll run into tradeoffs. GIMP can handle layers and detailed edits, but the interface can feel dated and the learning path can be bumpy. Some web-based editors handle quick fixes, yet they may compress your files more than you want or limit export formats. A safe rule is: use Photos for quick cleanups and consistent exports, then add a dedicated layer editor when you need precise object-level retouching.
For Mac shoppers, you’ll also see searches like “free photo editing programs for mac” and “best free photo editing programs for mac.” I separate those into two needs: a comfortable day-to-day editor (Photos wins for many), and a backup layer editor for occasional complex work (GIMP wins for cost, while Affinity wins for usability but it isn’t free). If you want a focused shortlist, the roundup in best free photo editing software for Mac can save you time.

Which photo editor is best for beginners vs pros?
The best editor for beginners is the one that gets you to consistent, good-looking results with minimal setup: clear sliders, helpful presets, and predictable exports. The best editor for pros is the one that gives you control: deep RAW tools, reliable color, layers, masks, and a workflow that doesn’t break under volume.
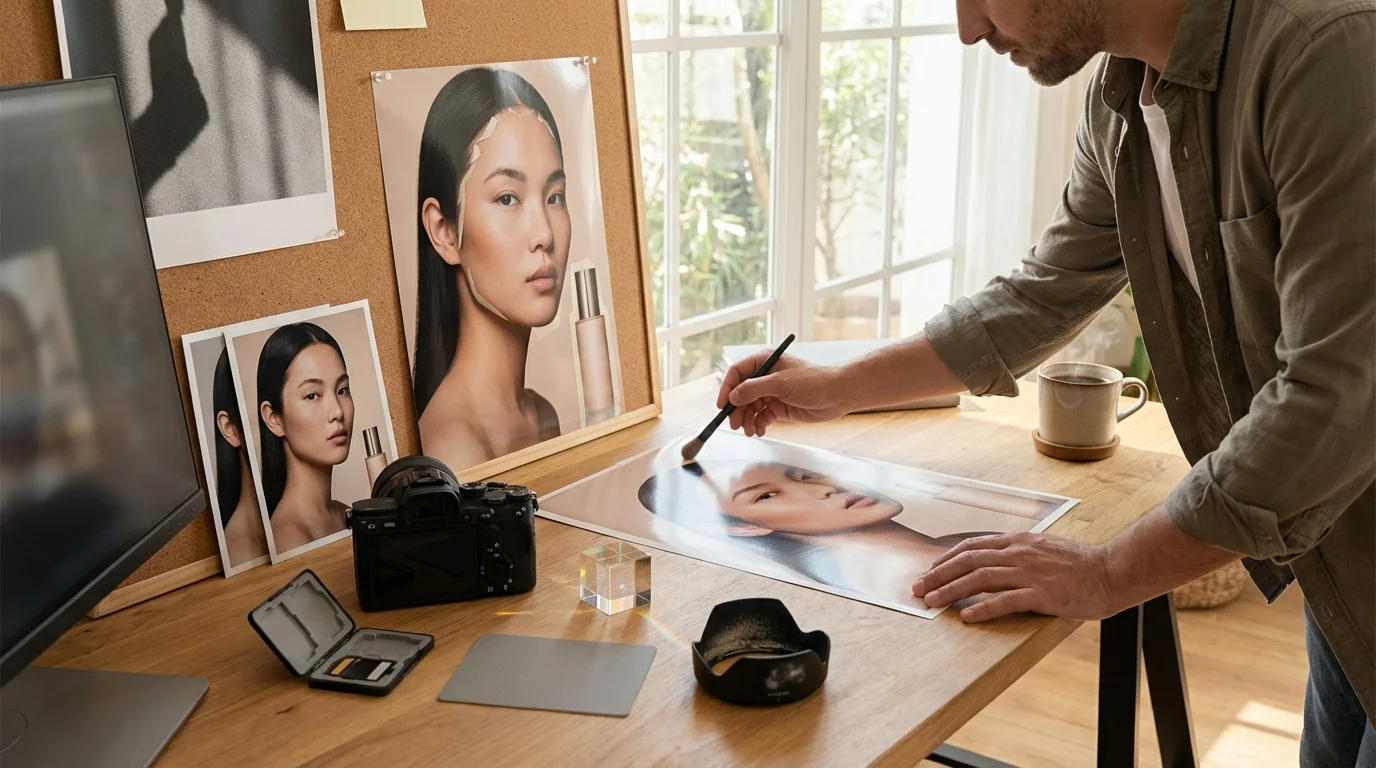
Beginners usually get the fastest wins from a simple editor plus a repeatable routine. Do this now: pick five recent images, edit them in one sitting, and write down what slowed you down. If you struggled to keep color consistent across a set, you’re probably ready for a catalog-based RAW editor. If you struggled to remove distractions or retouch skin while keeping texture, you’re probably ready for layers and masks.
Here’s a mini case study that mirrors what I see all the time. A small Etsy seller photographing handmade candles was shooting about 120 product images per month on an iPhone, then spending nearly 6 hours each week fixing exposure and cleaning messy backgrounds. They switched to a two-step routine: quick global adjustments in Apple Photos, then background cleanup with a dedicated remover and a consistent crop template. Their weekly editing time dropped from about 6 hours to 2 hours, and their “usable on first pass” rate went from roughly 55% to 85% because the files stayed consistent across listings.
Pros can still benefit from a simpler solution when speed matters. I’ve edited sets for social campaigns where the deadline mattered more than perfection, so I used a lightweight editor for global tuning, then moved only the hero images into a layer editor for retouching. That split keeps you moving, but it also helps you avoid the trap of doing advanced work on every frame when only five images will be seen up close.
If you’re building a content pipeline for Instagram, Etsy, or a Shopify store, your bottleneck is often export and sizing rather than “editing skill.” You’ll get a clean set quickly if you standardize two things: a crop ratio for each platform and a target file size. If you need quick compression for web uploads, an online image compressor can help you keep pages fast without fiddling with complex settings.
What features should you look for in photo editing software?
The features that matter most are the ones that protect quality while saving time: a solid RAW processor, non-destructive edits, selective adjustments (masking), consistent presets, and exports that match where you publish. Extra features are fine, though only if you actually use them.
Start with RAW handling if you shoot in RAW. You want clean highlight recovery, good noise reduction, and lens corrections that don’t feel like a guessing game. Then look at non-destructive editing, meaning you can change your mind without damaging the original. Different apps implement it differently, but the point stays the same: edits should be reversible and organized.
Selective adjustments are where many editors separate. If you can’t easily brighten a face without lifting the whole background, you’ll fight your software. If you can’t target a product label without affecting the glass around it, you’ll waste time. Still, don’t overbuy: if you rarely do local edits, prioritize speed and a pleasant interface.
Export is the quiet deal-breaker. You need quick resizing, format choices (JPEG, PNG, WebP), and predictable sharpening for screen. Since speed affects user experience and SEO, modern formats matter. Google’s guidance on image performance is a good reference point; see web.dev performance guidance when you’re deciding how much effort to put into optimization. For a practical deep dive on formats, MDN’s documentation on web images helps you understand tradeoffs; start with MDN’s image format guide.
Two quick examples make this concrete. Imagine you’re preparing a LinkedIn banner: you’ll want fast cropping, safe text areas, and exports that don’t look soft after upload. Meanwhile, if you’re listing products on Shopify, you’ll want consistent white balance, background control, and smaller files so pages don’t drag. For more on picking the right format, the breakdown in choosing JPEG, PNG, or WebP is a useful reference you can keep bookmarked.
What is the difference between Lightroom and Photoshop?
Lightroom is built for managing and editing lots of photos quickly with consistent results, while Photoshop is built for detailed pixel-level work with layers, masks, and composites. If you shoot volume, Lightroom-style apps tend to feel faster. If you need precision, Photoshop-style apps tend to feel stronger.
Lightroom’s strength is the repeatable workflow: import, cull, batch adjust, sync settings across a set, and export in multiple sizes. It’s made for photographers who need consistency across dozens or hundreds of frames. Since it centers on a catalog, it also handles searching, ratings, and long-term organization better than a typical pixel editor.
Photoshop’s strength is control. You can isolate a subject with a mask, retouch with fine detail, combine exposures, or build a composite. Yet that power comes with a cost: the interface assumes you know what you’re trying to do, and you’ll spend more time per file. Unless you’re doing advanced work, it can feel like driving a race car to pick up groceries.
I’ve used both approaches in the same week, and the split is predictable: Lightroom-style edits for the whole set, then Photoshop-style edits for the handful of images that need special handling. Instead of forcing one editor to do everything, decide where each fits. If subscription pricing bothers you, look at alternatives with similar roles, and compare your workflow rather than brand names. The overview in Lightroom alternatives tested is helpful if you want options that keep the catalog-first approach without locking you into a monthly plan.
How do you pick a 2026 workflow that gets you from import to export fast?
A fast 2026 workflow is a repeatable sequence you can run on every shoot: import into one place, apply a baseline look, fix only what’s visible, then export in the formats and sizes you publish. The goal isn’t perfect edits. It’s consistent output on a schedule.
Do this now: write your “destination list” on a sticky note. Example: Instagram posts, Stories, Etsy gallery images, and a hero image for your homepage. For each destination, pick one crop ratio and one export size. While you edit, you’ll make decisions faster because you’re editing for a purpose rather than chasing a vague idea of “better.” That small constraint changes everything.
Whenever you share visuals on the web, file size becomes part of your routine. Smaller, modern formats load faster, but you still need decent quality. I’ve had good results treating compression as a separate final step rather than something I tweak during editing, because it keeps the creative work moving. If you want a quick free option, a free image compressor can reduce file sizes after you export, which helps you stay focused on color and composition.
If you’re a social creator, keep one “template folder” with crops, safe margins, and a few repeatable looks. If you’re a store owner, keep one “product baseline” that nails white balance and consistency. Yet unless you’re printing large, don’t waste time chasing microscopic differences at 200% zoom. Your audience sees the image at phone size, so your time is better spent shipping content regularly.
If you want more AI-focused options for portraits, profile pictures, and marketing images, the practical overview in AI headshot generators can help you decide when a generator makes sense and when classic editing still wins.
Pick one editor category, run the scorecard on five real photos, and stick to a simple import-to-export routine for the next two weeks. If you’re on a Mac, start with Apple Photos as your baseline, then add a catalog editor for volume work or a layer editor for detailed retouching. Your next step is concrete: edit a small set tonight, export for your main platform, and track how long it takes.
To expand semantic coverage and answer closely related search intent, also address terms such as “best photo editing programs 2026”.
For a practical option in this area, try Best Free Online Photo Editor to Replace Photoshop in 2026 for find the best free online photo editor for 2026. we compare photopea to photoshop's core features like layers, masks, and background removal.

FAQ
What’s the best photo editing software for Mac in 2026?
For most Mac users, Apple Photos is the best starting point because it’s free, fast, and covers core adjustments. If you shoot lots of RAW files, add a catalog-based RAW editor; if you do heavy retouching, add a layer-based editor.
Do you need both Lightroom and Photoshop?
You don’t need both unless your work combines high-volume editing with detailed retouching or compositing. A catalog editor handles batches and consistency, while a layer editor handles precise masking and pixel-level changes.
What’s the fastest way to edit product photos for an online store?
Use a repeatable baseline: consistent white balance, exposure, straightening, and a standard crop ratio, then export to web-friendly sizes. Keep compression as a separate final step so you don’t slow down your editing session.
Which file format should you export for the web?
JPEG works well for most photos, PNG is best when you need transparency, and WebP often produces smaller files at similar quality. Use the format your platform supports and prioritize smaller files for faster page loads.
Remove image backgrounds with AI