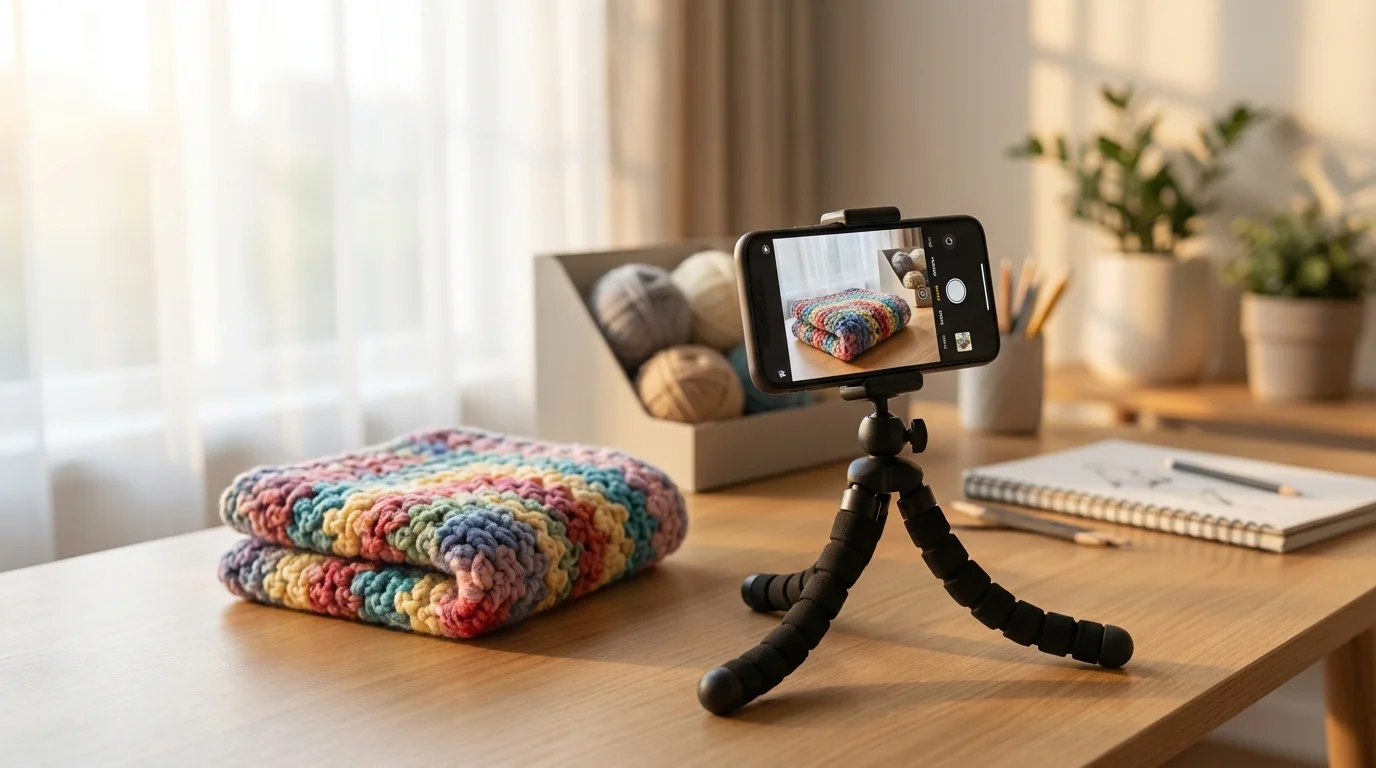
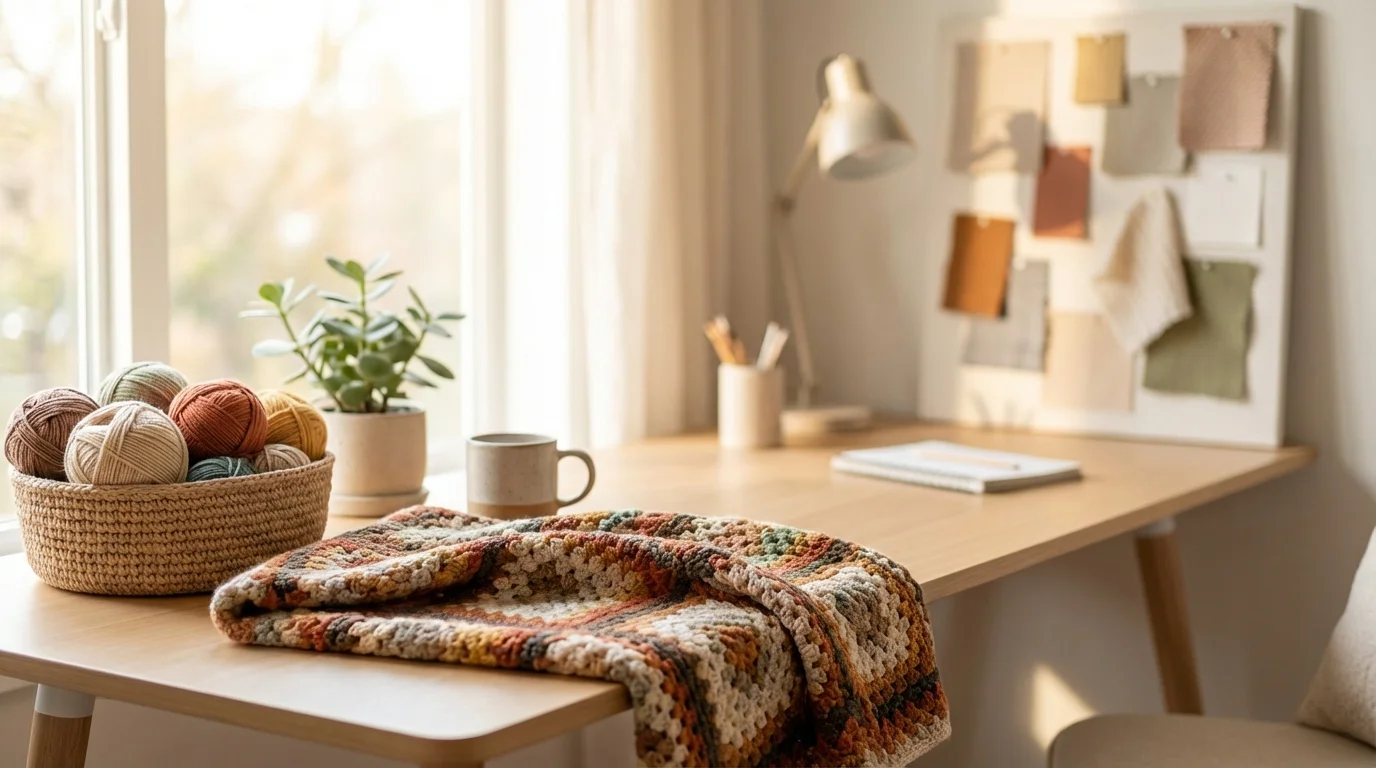
To photograph your crochet items effectively, use soft, natural light from a window, not direct sun. Place your item on a simple, neutral background like a white poster board to make the texture and color stand out. Use a free editing app to slightly brighten the image and crop it for Instagram.
You’ve spent hours, maybe even days, perfecting a beautiful crochet piece. The stitches are even, the colors are vibrant, and you’re proud of your work. You snap a picture with your phone, post it to Instagram, and… nothing. A few likes, maybe a polite comment from a friend. Meanwhile, other crafters with similar items are getting hundreds of likes and comments. The difference isn’t their crochet skill; it’s their photography.
Why is high-quality photography crucial for selling crochet on Instagram?
High-quality photography is your digital storefront, especially on a visual platform like Instagram. It’s the first, and often only, chance you get to stop someone from scrolling and make them appreciate the detail and craftsmanship of your work. A clear, well-lit photo communicates professionalism and builds trust with potential customers, showing them exactly what they’re buying. Blurry or poorly lit images can make the finest work look cheap and unappealing.
Think of your Instagram grid as a curated gallery. Each photo contributes to the overall feeling of your brand. When your images are consistently bright, clear, and styled in a similar way, you create a cohesive and attractive feed that encourages follows. From my experience helping clients build their online presence, a messy, inconsistent grid with bad photos is the number one reason they fail to gain traction. Good photos show you care about your work, and that signals quality to your audience. This consistency is a core part of building a recognizable brand, a topic we explore more in our guide on social media consistency.
What essential equipment do you need for stunning crochet photos (even with a phone)?
You don’t need an expensive DSLR camera to take amazing photos of your crochet. Your smartphone is more than capable of capturing professional-quality images. The key is to support it with a few cheap and simple tools that control light and background. A modern smartphone camera, combined with the right techniques, will outperform a high-end camera used incorrectly every time.
Here’s the only gear I recommend starting with:
- A Smartphone: Any recent model will do. The camera quality is less important than how you use the light available to you.
- White Foam Board or Poster Board: This is your secret weapon. You can buy a large sheet from any craft store for a few dollars. It serves two purposes: as a clean, neutral background and as a reflector to bounce light back onto your item, filling in harsh shadows.
- A Window: Your primary light source. It’s free and provides the best quality light for showing true-to-life colors and textures.
That’s it. When I first started taking product photos, I used my phone propped up on a stack of books, a piece of white poster board, and the light from my living room window. One mistake I keep seeing is people overcomplicating their setup with fancy lights and gear before they’ve even mastered the basics of natural light. Keep it simple, focus on the fundamentals, and you’ll see a huge improvement right away.
How to master natural lighting for your crochet projects?
Natural light is the most important element in crochet photography because it reveals the true color and texture of your yarn without a harsh, yellow cast. The goal is to find soft, diffused light. This is the kind of light you get on an overcast day or from a window that isn’t in direct, beaming sunlight. Direct sun creates strong, dark shadows that hide the delicate details of your stitches.
The first step is to turn off all the artificial lights in your room. Your ceiling light or lamps will contaminate the natural light, creating a weird color balance. Next, set up your crochet item near a large window. If the sun is shining directly through it, you can diffuse the light by hanging a thin white sheet or sheer curtain over the window. This acts like a giant softbox, scattering the light evenly. You can then use your white foam board on the side of your item opposite the window to bounce some of that light back and soften any remaining shadows. Many photographers prefer shooting during the ‘golden hour’—the hour after sunrise and the hour before sunset—which provides a warm, soft light that is flattering for almost any subject.
I worked with a crochet artist who made adorable amigurumi toys but struggled with sales. Her photos were dark, taken at night under a yellow lamp. We did a one-hour session where I had her simply move her setup next to a north-facing window during the day. She didn’t buy any new gear. The result? Her engagement on Instagram doubled within two weeks, and her Etsy sales increased by 40% the following month because customers could finally see the quality and true colors of her creations.
What are the best angles and compositions for different crochet items?
The right angle can transform a photo from a simple snapshot into a compelling image. Instead of just taking one straight-on picture, experiment with different perspectives to highlight what makes your item special. For crochet, showing off texture is just as important as showing off the overall shape.
Here are three essential shots to master for your crochet photography:
- The Flat Lay: This is the classic top-down shot and a favorite for Instagram. It’s perfect for items like blankets, scarves, and dishcloths. Arrange your item neatly on your background (like that white poster board) and shoot directly from above. Keep your phone parallel to the ground to avoid distortion. Add a simple prop like a crochet hook, a pair of scissors, or a cup of tea to add context and scale.
- The Detail Shot: Get close! Use your phone’s macro mode or simply move the lens closer to capture the intricate details of your stitchwork. This shot builds trust with customers because it proves the quality of your work. It’s especially effective for items with complex textures like bobble stitches or cabling.
- The Lifestyle Shot: Show your item in use. This helps potential buyers imagine it in their own lives. Drape a blanket over the arm of a sofa, have a friend model a hat, or place a table runner on a dining table. These contextual shots are incredibly powerful for storytelling and are often more engaging than a simple product photo.
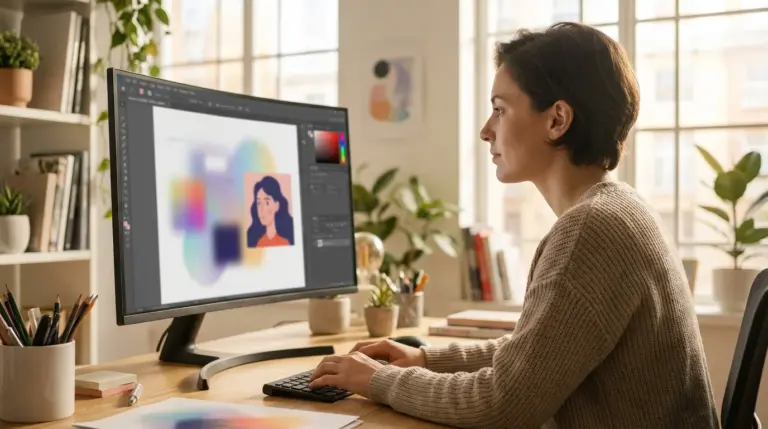
How to edit your crochet photos for a professional look?
Editing is the final polish that makes your photos look professional and consistent. The goal is not to change the photo drastically or apply heavy filters that distort the yarn’s color. Instead, you should aim for subtle adjustments that make the image brighter, clearer, and more vibrant. Most modern smartphones have powerful built-in editing tools, or you can use free apps like Snapseed for more control.
I’ve tested dozens of editing apps, and my advice is always to stick to the basics. Focus on these three adjustments: brightness (or exposure), contrast, and sharpness. A slight increase in brightness can make your photo look clean and airy. A small boost in contrast can make the colors pop without looking unnatural. A touch of sharpness can help define your stitches. One of the biggest mistakes I see is crafters using trendy, heavy-handed Instagram filters that make a beautiful cream-colored yarn look orange. Your customers need to see the true color.
For a cohesive feed, it’s a great idea to develop a consistent editing style. Once you find a combination of adjustments you like, apply the same ones to every photo. Many apps, including Lightroom Mobile, allow you to save your settings as a preset. This saves you time and ensures your entire Instagram grid has a unified, professional look that strengthens your brand identity. For a deeper dive into mobile editing apps, you can compare some of the best AI photo editing apps to see which one fits your workflow.
How can you make your crochet posts stand out on Instagram?
A great photo is the hook, but your strategy keeps your audience engaged. Once you’ve captured that perfect shot, you need to package it correctly to maximize its reach on Instagram. This involves writing a compelling caption, using the right hashtags, and engaging with your community. Your post is more than just a picture; it’s a conversation starter.
Your caption should add value or tell a story. Instead of just saying “New hat for sale,” talk about the inspiration behind the design, the type of yarn you used, or ask your followers a question to encourage comments. When it comes to hashtags, avoid overly broad ones like #crochet (with millions of posts) and opt for more specific, niche tags like #crochetbeanie or #handmadehomedecor. These have less competition, so your post is more likely to be seen by people who are genuinely interested in what you make.
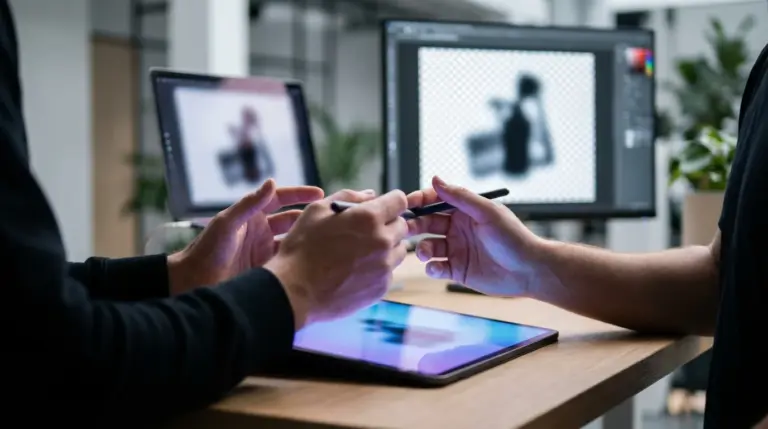
Don’t be afraid to repurpose your images for different formats. For example, you can take a great flat lay photo and use a free background remover to create a clean product cutout. You can then place this cutout on a branded graphic for your Instagram Stories to announce a shop update or a special sale. This makes your content work harder for you and adds variety to your feed without requiring a whole new photoshoot.
You don’t need a fancy studio or expensive camera to improve your crochet photography. By focusing on the fundamentals—especially mastering natural light—you can create stunning images with just your smartphone and a piece of poster board. Do this now: for your very next project, take your photos next to a window on an overcast day. Compare that shot to your old ones; the improvement will be immediate.
FAQ
Can I really take good crochet photos with just my phone?
Yes, absolutely. Modern smartphone cameras are incredibly powerful. The key to great photos isn’t the camera, but your control over lighting, composition, and background, all of which you can master without any expensive gear.
What is the best background for crochet photos?
For beginners, a plain white or light gray foam board is best because it doesn’t distract from your work. As you get more comfortable, you can experiment with other neutral textures like light wood, faux fur rugs, or linen fabric to add more personality.
How do I prevent my yarn colors from looking wrong in photos?
The best way to ensure true-to-life colors is to shoot in soft, natural daylight and avoid using any artificial lights (like lamps). When editing, avoid applying heavy filters; instead, make small adjustments to brightness and contrast to enhance the natural colors.
How often should I post my crochet creations on Instagram?
Consistency is more important than frequency. It’s better to post one high-quality photo three times a week than to post seven rushed, low-quality photos. Choose a schedule that you can realistically maintain without burning out.
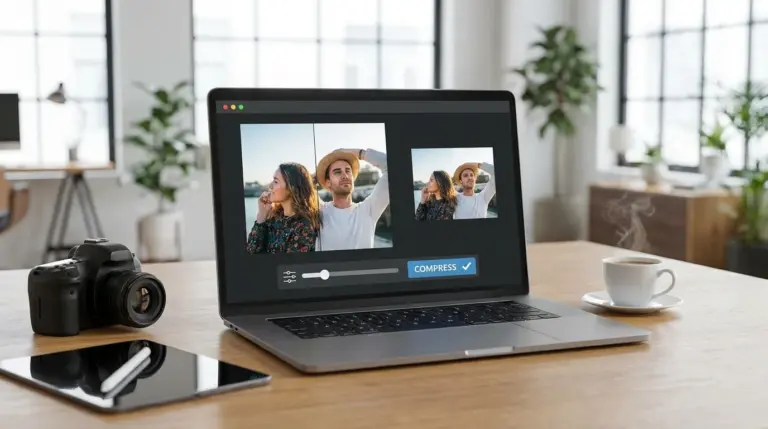
Crop and resize images for free