Matte painting is a visual effects technique where artists combine still images, textures, and digital painting to create realistic-looking environments that would be too expensive, dangerous, or impossible to capture on film. It allows you to build entire worlds, from fantasy landscapes to futuristic cities, directly within Photoshop.
You may have a great product photo or a character portrait, but the background is dull and uninspired. You imagine it set against a dramatic mountain range or inside a sci-fi cityscape, but you don’t have the budget for a location shoot. This is a common challenge for social media managers and digital artists who need to produce compelling visuals consistently. With matte painting techniques, you can stop relying on generic stock backgrounds and start creating custom, immersive worlds that make your subject stand out.
What Exactly Is Matte Painting?
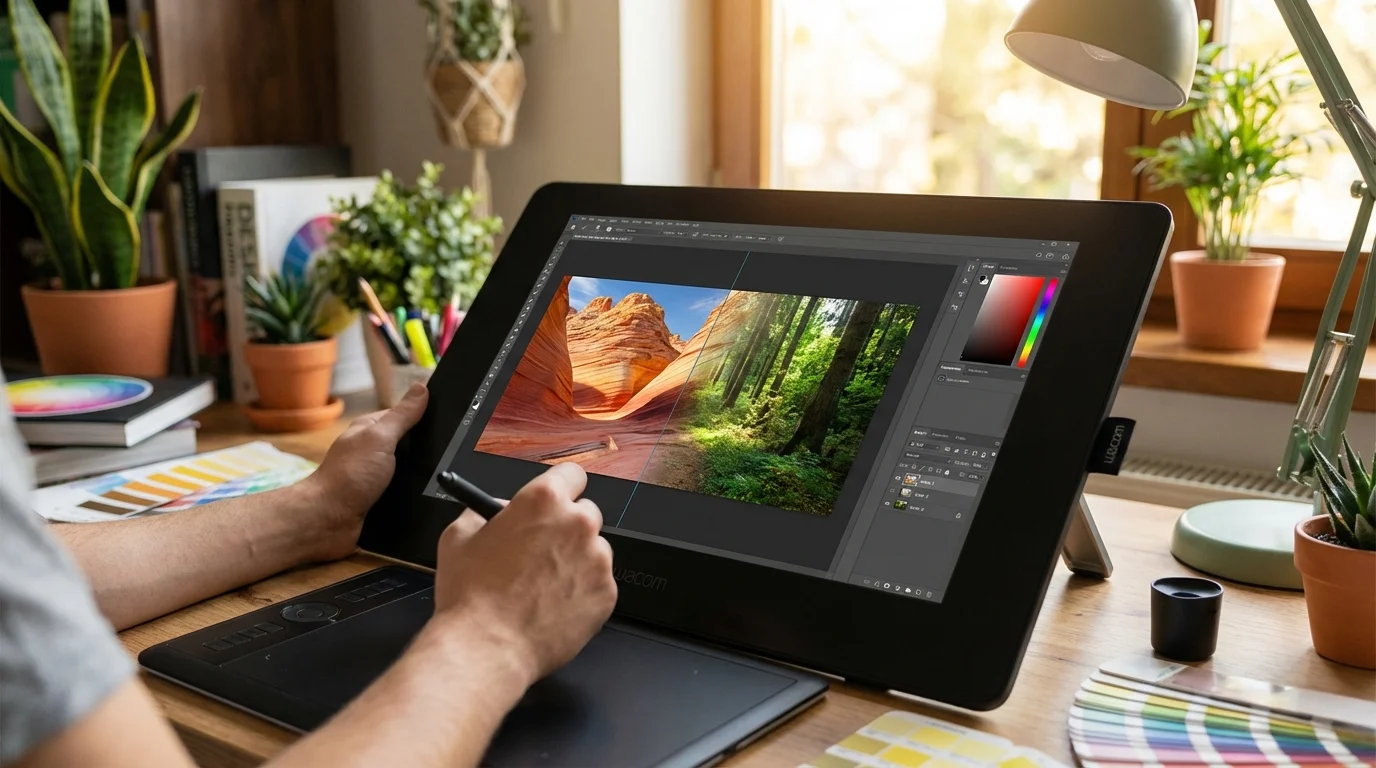
Matte painting is the art of creating a photorealistic scene by combining different visual elements. Think of it as a digital collage with a strong focus on realism. The goal is to make the final image look like a single, cohesive photograph, even though it may be built from dozens of different sources. Historically, these scenes were painted on large glass plates and combined with live-action footage in-camera. Today, the process is almost entirely digital, with Adobe Photoshop being the industry-standard tool.
The technique is no longer exclusive to Hollywood blockbusters. With accessible software and vast libraries of stock photos, anyone can learn to create their own matte paintings. The core principle remains the same: ly blending disparate elements by matching their color, lighting, perspective, and scale. For example, you might take the sky from one photo, mountains from another, a castle from a third, and paint in atmospheric effects like fog or rain to tie them all together.
How Do You Create a Matte Painting in Photoshop?
Creating a matte painting involves a layered process of selecting, combining, and blending images. While complex scenes require advanced skills, the basic workflow is straightforward and can be broken down into manageable steps. You don’t need to be an expert painter to start; a good eye for composition and a willingness to experiment are more important.
1. Establish Your Base Image and Concept
Every matte painting starts with a foundation. This is typically your main background or foreground element, which sets the scene’s overall lighting and perspective. Choose a high-resolution image that establishes the mood you want to create. Before you begin combining photos, have a clear concept. For instance, decide whether you are building a serene fantasy landscape or a gritty, dystopian city. This initial decision will guide all your subsequent choices.
2. Isolate and Composite New Elements
Next, you’ll begin adding new elements to your scene. This could be a mountain, a building, a different sky, or any other object. Each new element should be placed on its own layer. The key to this step is clean isolation. You will need to remove the original backgrounds from these new elements so they can blend into your main scene. Using Layer Masks is the best practice here, as it’s a non-destructive way to hide parts of an image. You can learn more about how to make an image background transparent for free, as the same principles apply in Photoshop. A soft-edged brush on the Layer Mask will help you create natural-looking transitions.
3. Match Color, Light, and Saturation
This is the most critical step for achieving realism. Elements from different photos will have different lighting and color profiles. Your job is to make them look like they belong together. Use Adjustment Layers like Hue/Saturation, Curves, and Color Balance. Clip these adjustment layers directly to the element’s layer, so your changes only affect that specific object. For example, if your base image has a cool, blueish tone, you must add blue to the new elements and reduce their warmth to match.
In professional visual effects, every element in a composite must share the same ‘world’ of light. This means matching not just the color of the main light source, but also the ambient light, bounce light, and shadow density. — Society of Digital Artists
4. Paint in Details and Atmosphere
The final step is to add the details that sell the illusion. This involves painting on new layers to create atmospheric effects. Use a soft, low-opacity brush to paint in fog or haze, especially on distant objects, to create a sense of depth. Add shadows where your new elements would cast them and paint subtle highlights where they would catch the light. These finishing touches are what bridge the gap between a simple collage and a believable matte painting.
What Are the Practical Uses for Matte Painting?
Beyond film and video games, matte painting skills are incredibly valuable for digital marketers, content creators, and graphic designers. The ability to construct unique environments opens up many creative avenues for projects where a standard photograph just won’t do.
- Unique Social Media Content: Create eye-catching backgrounds for product announcements or promotional campaigns that stop users from scrolling.
- Website and Blog Visuals: Design stunning hero images and featured banners that capture your brand’s identity without relying on generic stock imagery.
- Concept Art: Visualize an idea for a project, whether it’s for a book cover, an advertisement, or a personal art piece.
- Custom Backgrounds for Portraits: You can even use these skills to create custom backgrounds for professional portraits, including those generated by some of the best AI headshot generators of 2026, giving them a completely unique and branded feel.
Common Mistakes to Avoid
When you’re starting, a few common pitfalls can make your matte paintings look unrealistic. Being aware of them can help you improve much faster. The most frequent issue is a mismatch in perspective. Ensure all the elements you combine follow the same vanishing points and horizon line. Another problem is inconsistent lighting. Every object in your scene must be lit from the same direction and with the same quality of light (hard vs. soft). Also, pay attention to scale. An object that is too large or too small for its position in the scene will immediately break the illusion. Use familiar objects like people or trees to maintain a consistent sense of scale throughout the image.
Matte painting is a powerful skill that blends technical knowledge of Photoshop with artistic vision. It gives you the freedom to create any scene you can imagine. To begin, don’t try to build a complex world on your first attempt. Start by taking just two images—like a person and a new background—and focus exclusively on making the lighting and color match perfectly. Mastering this fundamental skill is the first step toward creating truly breathtaking digital environments.
FAQ
Can I do matte painting without a drawing tablet?
Yes, you can create basic matte paintings using just a mouse, especially if you are combining photographic elements. A drawing tablet becomes more helpful when you need to do detailed digital painting for things like atmosphere, shadows, or custom textures.
Where can I find high-quality images for my matte paintings?
You can use your own photographs or find royalty-free images on stock photo websites like Unsplash, Pexels, or Adobe Stock. Using high-resolution source images is necessary to ensure the final result looks crisp and professional.
Is matte painting only for creating fantasy or sci-fi scenes?
No, the technique is widely used for more subtle effects. Filmmakers often use it to add buildings to a skyline, remove modern objects from a historical scene, or simply extend a physical set to make it look larger than it is.
What is the most important skill for a realistic matte painting?
The most important skill is understanding how light and color work in the real world. Being able to accurately observe and replicate lighting, shadows, and atmospheric perspective is what will make your composite images look believable.