Creative food photography ideas for instagram come from a simple workflow: research like a curator, then execute like a technician. In 2026, you’ll get the best results by building a tight mood board, choosing one lighting “recipe,” and shooting 4 repeatable home setups (takeaway, meal prep, restaurant-style, and graphic overhead) that look intentional—not random. Focus matters.
Imagine this scenario: you’re staring at a meal prep container on your kitchen counter, and it looks… fine. Not bad. Just boring. You know Instagram rewards personality and clarity, but every time you “try something creative,” it turns into chaos—props everywhere, colors fighting, and lighting that makes the food look tired. This happens often.
The fix isn’t a secret preset or buying an expensive strobe. It’s a research-to-execution loop you can repeat every week: collect ideas with intention, translate them into a mood board, then run 4 setups that give you variety without reinventing your entire brain each time. Logic wins.
How to creative food photography ideas for instagram?
If you want creative food photography ideas for instagram that don’t feel copied, research like you’re building a “concept menu,” not like you’re doom-scrolling. The direct answer: use a 3-step loop—keyword search, save with labels, then adapt with constraints such as brand colors, container shape, and one lighting style. Your goal isn’t more inspiration. It’s four shootable concepts.
Here’s the practical 3-step Pinterest-to-Mood-Board workflow: first, search in buckets like restaurant plating, takeaway photoshoot, or meal prep photography. Second, save aggressively but label why you saved it, noting light direction, prop choice, or composition type. Third, adapt each idea by changing at least two variables so it becomes yours: background color plus camera angle, or prop styling plus crop format.
- Step 1 (15 minutes): Run 3 keyword searches: “creative restaurant photography ideas,” “takeaway photoshoot ideas,” “meal prep photography ideas.”
- Step 2 (10 minutes): Save 20–30 images and tag each save with one reason: “hard side light,” “graphic overhead,” “motion,” or “negative space.”
- Step 3 (20 minutes): Pick four winners and write a one-line adaptation rule for each setup.
Concrete example: if you see a restaurant dish shot with dramatic side light and a dark table, adapt it for meal prep by keeping the same lighting direction but swapping to a clean countertop. If you need technical lighting references while planning, skim professional breakdowns on food photography lighting guides and match your idea to a known setup instead of guessing. Simple works.
| Research asset | What you capture | How it turns into a setup |
|---|---|---|
| Saved post | Light direction + angle | Pick one lighting recipe for the whole shoot |
| Mood board tile | Color palette + props | Choose 3 props max per setup |
| Shot list | Frame types | Plan 4 frames: overhead, 45°, tight crop, wide story frame |
This workflow won’t help if you’re shooting something inherently messy without controlling reflections. You can still do it, but you’ll need to plan for flags and a cleaner light source, otherwise you’ll blame the idea when it’s simply glare.
What are the best lighting setups for home food photography?
The best home lighting setups for creative food photography ideas for instagram are the ones you can repeat on demand. Direct answer: choose one primary light direction, control spill with a reflector and a flag, and keep the light source consistent with a window or a single LED panel. Consistency beats fancy equipment. Try this.
Advice to just use natural light often wastes your time because natural light is moody and unreliable when it isn’t stable. Pick a baseline: either window light you can soften with a white curtain, or one LED panel you can place in the same spot every time. The difference between amateur and pro-looking food shots at home is usually control over diffusion, bounce, and blocking.
Here’s a small equipment list that fits in a closet:
- One continuous LED panel or a consistent window
- Diffusion: white shower curtain, baking paper, or a proper diffuser
- Reflector: white foam board for fill
- Flag: black card to deepen shadows
- Tripod or phone clamp
- Two backgrounds: one light and one dark
Now consider placement. Below are lighting placement diagrams you can copy for four social media food photography setups, no guesswork involved.
Setup 1: Clean meal-prep hero (45° side light)
Put the key light 45° to the side and slightly behind the food, diffuse it, then add a small bounce opposite for gentle fill. This setup makes meal prep look fresh instead of clinical.
- Key light: 10 o’clock relative to camera
- Diffuser: between key and food to avoid harsh plastic shine
- Fill: white foam board on the right
- Flag: black card behind container to add separation
Setup 2: Takeaway “grab-and-go” (top-back light + shadow shape)
Light from behind and above to create a strong shadow shape, then control glare with diffusion. It’s perfect for bags, boxes, cups, and branded stickers. Focus matters.
- Key light: behind the subject, raised, angled down
- Diffuser: mandatory for glossy packaging
- Fill: minimal use only if shadows go dead-black
- Background: matte paper to avoid random reflections
Setup 3: Restaurant-style moody plate (harder side light + flag)
Use a slightly harder side light and a black flag to keep contrast. This is the chef’s table look without needing a restaurant setting. It works.
- Key light: side, closer and less diffused than Setup 1
- Flag: black card on the opposite side to deepen shadows
- Fill: none to allow shadows to exist
- Props: linen and a fork only
Setup 4: Graphic overhead flatlay (even light + big bounce)
Keep the light broad and even, then design the composition like a poster. This is your fast carousel content engine. Try this.
- Key light: above-left, heavily diffused
- Fill: large white board on the right for evenness
- Camera: straight overhead
- Background: solid color that matches brand palette
How to build a mood board for a food brand photoshoot?
A mood board for creative food photography ideas for instagram should be a decision tool, not a collage of pretty images. Direct answer: lock three things, palette with 3 main colors, prop rules with 3 props max, and framing rules with 4 frame types. If the board can’t answer those, it’s not finished.
The easiest way to build one is to split the board into four columns that match your four setups. Each column gets one lighting reference, one composition reference, and two prop references. Add a note under each tile explaining why it works. This keeps you from copying the surface and missing the real reason the image feels good.
Color palette selection criteria are vital for meal prep branding. Pick one dominant background color that doesn’t fight the food, one accent color that repeats in props, and one neutral that keeps everything calm. Meal prep is often heavy on browns and beiges, so your palette needs a clean counterbalance. Be precise.
- Dominant: background such as matte paper or a countertop
- Accent: one repeated brand cue like a napkin or label
- Neutral: wood, stone, or white to stop visual noise
| Brand vibe | Palette direction | What to avoid |
|---|---|---|
| High-protein / performance | Clean neutrals + one bold accent | Too many warm props |
| Premium restaurant | Dark tones + controlled highlights | Shiny backgrounds |
| Fresh & healthy | Light stone + greens + natural textures | Over-saturated backdrops |
If you’re building content for Instagram formats, your mood board should also include crops. If you keep getting weird crops after posting, you’ll like this practical guide to Instagram Story templates and sizing in 2026, it’s an easy way to plan frames that won’t get chopped.
What makes food photography scroll-stopping on Instagram?
Scroll-stopping food photography on Instagram is about clarity first, creativity second. Direct answer: your photo needs one obvious hero, one strong light decision, and one clean color story, then you earn the right to add motion, mess, or weird angles. The viewer should understand the image in under a second. It works.
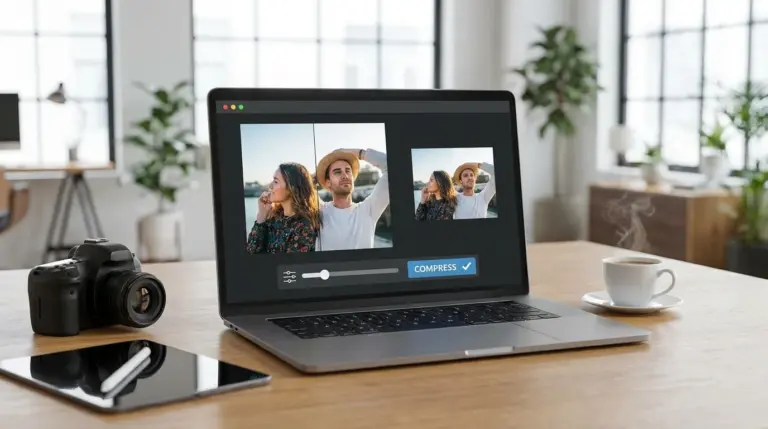
In practice, stop doing a little of everything. Pick a single hero, such as the steak bowl or the brownie, then make everything else support it. A scroll-stopper also respects the platform with tight crops, readable negative space, and textures that survive compression. If you’re exporting frequently, run final images through an online image compressor so your posts stay sharp. Logic wins.
Here’s a checklist to run before you shoot:
- Hero clarity: can you point to the subject in 1 second?
- Light decision: is the light soft or harsh on purpose?
- Shadow control: do shadows add shape, not grime?
- Color discipline: does the palette have one accent maximum?
- Texture: can you see crisp edges, grains, or crumbs?
- Crop readiness: does it work in 4:5 without cutting the hero?
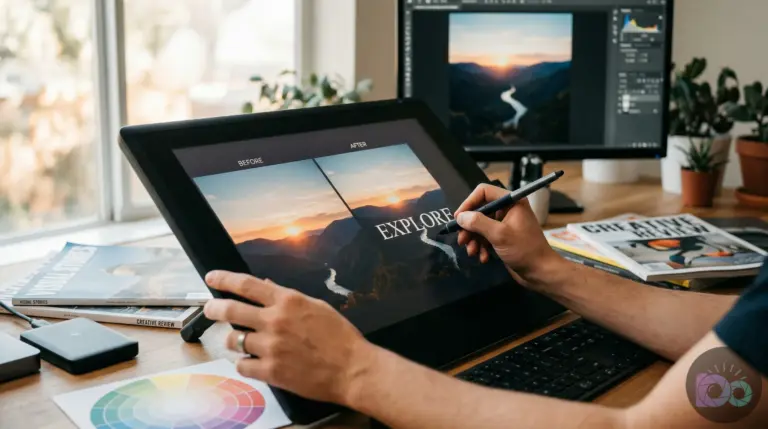
Concrete example: action shots are only scroll-stopping when the frame is clean and the timing is readable. If your falling garnish just becomes noise, it will look like a mistake. Keep motion simple with one sprinkle or one pour. If you want a deeper editing workflow, this piece on building a consistent photo aesthetic in Lightroom is a solid companion. Check again.
Four social media food photography setups you can repeat (with shot lists)
If you want creative food photography ideas for instagram that genuinely build a portfolio, you need repeatable setups. Direct answer: run four lanes in one session: meal-prep clean hero, takeaway branding, restaurant moody plate, and graphic overhead flatlay. Each lane gets a mini shot list so you leave with a full week of content. Simple works.
Below are four setups with a shot list for each. This is where your research process finally pays off because you’re not improvising, you’re executing. Keep the same light placement for the entire setup, and only change props and framing. That’s how you get variety without losing consistency. Be precise.
Setup A: Meal-prep clean hero (3-shot mini set)
- Shot 1: 4:5 hero of one open container
- Shot 2: tight crop of texture details
- Shot 3: ingredient support frame
Setup B: Takeaway branding (4-shot mini set)
- Shot 1: bag/box + label centered
- Shot 2: product half-reveal with lid cracked open
- Shot 3: detail of sticker or brand mark
- Shot 4: wide story frame for 9:16 crops
Setup C: Creative restaurant photography ideas, adapted at home
- Shot 1: 45° hero plate with moody contrast
- Shot 2: overhead table scene with one prop
- Shot 3: close-up of a signature moment
Setup D: Graphic overhead flatlay (5-shot content engine)
- Shot 1: centered poster-style layout
- Shot 2: rule-of-thirds layout with negative space
- Shot 3: ingredient scatter
- Shot 4: hands-free motion substitute
- Shot 5: carousel-friendly sequence
Editing and export choices that keep food looking real (not plastic)
Editing for food should protect appetite, not destroy it. Direct answer: correct white balance first, then nudge contrast and saturation gently, and keep sharpening conservative so packaging doesn’t turn crunchy. Food looks plastic when highlights are clipped and texture is over-sharpened. Logic wins.
You need a consistent workflow rather than a complicated one. Start with global fixes for exposure and white balance. Then perform selective tweaks to bring down highlights on shiny lids or lift shadows on dark plates. If you’re doing cutouts for ads, a free background remover can help isolate a container quickly, but skip it if your brand relies on real kitchen authenticity. Check again.
For export, consider platform limitations:
- Export a version that fits the 4:5 feed format
- Avoid heavy noise reduction to protect texture
- Keep gradients simple to avoid banding
- Check your image after upload for contrast loss
If you want a technical read on why images degrade, it’s worth skimming the fundamentals at MDN Web Docs because the same compression logic punishes subtle detail in social platforms too. Editing cannot fix a confusing composition. If your hero isn’t clear in the raw frame, fix it in-camera by simplifying the scene.
Do this next: open Pinterest or Instagram saves, run the three keyword searches, and build a four-column mood board tonight, one column per setup. Tomorrow, pick one light recipe and shoot all four setups with mini shot lists. If you want to get serious about shooting products with minimal gear, pair this with a phone-based product photo workflow and you’ll have a repeatable system, not a once-in-a-while lucky post. Simple works.
If your next step is get profile picture ideas for every platform. learn diy tips for lighting and angles, plus professional, creative, and ai-generated avatar styles, 6 Profile Picture Ideas for LinkedIn, Instagram & More is a dedicated option for that workflow.
FAQ
What are the best creative food photography ideas for instagram if I only have a phone?
Use repeatable setups instead of fancy gear: a 45° side-light meal-prep hero, a top-backlight takeaway branding shot, a moody plate scene, and a graphic overhead flatlay. Your consistency comes from controlled light and a simple palette, not from upgrading cameras.
How many props should I use in a home food shoot?
Three is a good ceiling per setup: one texture background, one functional prop like a fork or bowl, and one brand accent such as a napkin or label. Excessive props weaken your hero and make the photo look cluttered.
How do I avoid glare on meal prep containers?
Diffuse your key light and adjust the angle before changing camera settings. Place diffusion between the light and container, moving the source so reflections bounce away from the lens.
How do I make a mood board that doesn’t turn into a random collage?
Force your mood board to answer specific decisions: three colors, three props maximum, and four frame types. Organize it into four columns and label every reference with its specific purpose.
Should I use background removal for food photos?
Background removal works well for clean ad tiles or marketplaces where you want the food to pop. However, keep the natural background if your brand relies on a ‘real kitchen’ aesthetic to maintain appetite appeal.
Crop and resize images for free