Batch Convert HEIC to JPG Guide 2026: iPhone to Windows
Batch convert HEIC to JPG for Windows upload forms: import iPhone photos, prevent future HEIC captures, and verify clean JPG copies.

Contents
Batch convert HEIC to JPG by importing the iPhone photos to Windows first, checking whether the files are really HEIC, converting the existing batch to JPG copies, and opening several exports before upload. Change the iPhone camera to Most Compatible only for future photos. It will not rewrite the HEIC files you already shot.
The Shortest Safe Workflow
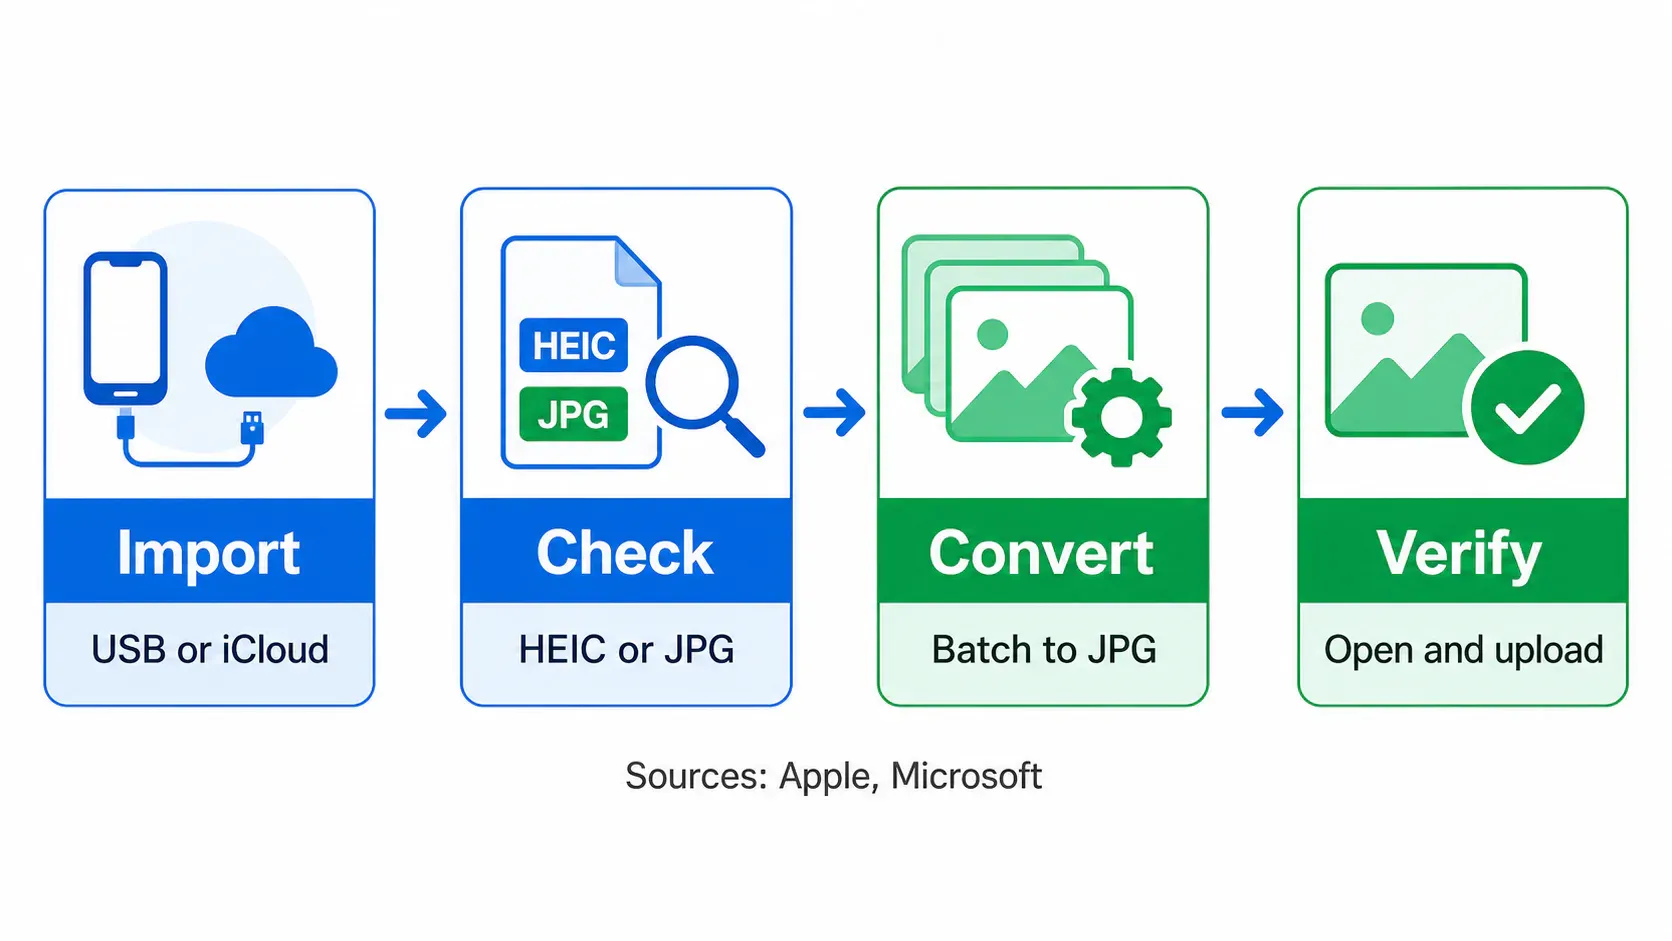
The reliable order is import, check, convert, verify. That sounds slower than dragging files into the first converter you find, but it prevents the classic mess: half the files live only in iCloud, a few keep the .heic extension after a rename, and the upload form rejects the whole set.
- Import the photos to the PC with Windows Photos, File Explorer, or iCloud for Windows.
- Sort the folder by file type so HEIC and JPG don’t get mixed.
- Convert only the HEIC files to JPG copies.
- Open several JPGs in Windows Photos before uploading the batch.
- Keep the HEIC originals until the upload succeeds.
That last step matters. HEIC isn’t a bad format. Apple’s HEIF note says HEIF uses better compression than JPEG while preserving the same visual quality, which is exactly why iPhones use it. JPG is the compatibility copy, not automatically the better master file.
Native Windows Import First
Start with the boring path. Microsoft’s import steps say to connect the phone with a USB cable that can transfer files, unlock the phone, open Photos on the PC, then choose Import from the connected device. If the phone is locked, Windows may not see it at all.
Apple documents the same broad transfer choice: use the Photos app with a USB cable, or make the library available through iCloud Photos. USB is usually the cleaner move for a batch because you can control the destination folder and inspect extensions before conversion. iCloud is convenient when the photos are not physically stored on the phone anymore, but Microsoft warns that iCloud-only media may need iCloud for Windows before Windows can open or import it.
For one file, the native path may be enough. Open the photo on the iPhone, share it, or move it through a workflow that exports JPG. For a folder of product photos, that’s where the hand rhythm falls apart. You need a folder-level process, not tiny share-sheet chores.
The iPhone Setting That Prevents the Next Batch
Most Compatible is prevention, not cleanup. Apple says the setting lives under Settings > Camera > Formats > Most Compatible, and new photos will then use JPEG while videos use H.264. Existing HEIC files stay HEIC.
Use Most Compatible when the next shoot is headed straight for a Windows-only vendor portal, school form, legal intake system, or marketplace uploader that still asks for JPG. Keep High Efficiency when the photos are mostly for your own library, shared albums, or editing later, because HEIC saves storage before you make any export copies.
My position: don’t switch the phone permanently unless rejected uploads are a weekly problem. Storage wins every day; compatibility only wins at handoff time.
The Batch Conversion Step
Once the files are in a Windows folder, make the conversion a copy step. Select the .heic files, export them to JPG, and put the outputs in a sibling folder named something plain like jpg-upload. That folder name is dull. Good.
If you use Araluma, start from the HEIC to JPG conversion path in the format conversion hub, then test one file before dropping a whole shoot. Araluma’s own architecture note says HEIC can use a WebAssembly decoder when the browser does not decode it natively, which is useful, but still browser-dependent enough that I would not feed it a client’s whole folder until the first export opens cleanly.
The trade-off is simple: native apps are best for one or two files because they are already there; a browser workflow earns its keep when you have a folder and need repeatable outputs. If the same batch also has oversized phone photos, convert first, then use Araluma Resize only after the JPGs exist. Resizing before conversion makes troubleshooting harder because you changed two things at once.
JPG Export Settings Worth Checking
JPG is the safe handoff format, but it isn’t lossless. W3C’s JPEG page describes JPEG as a lossy compression method, and JPEG/JFIF is the file format people usually mean when they say “JPEG.” That means a conversion can be perfectly compatible and still be a worse-looking copy if the quality setting is too aggressive.
For normal upload forms, I check four things:
- Extension: the file ends in
.jpgor.jpeg, not a renamed.heic. - Open test: Windows Photos opens the exported copy without a codec prompt.
- Detail check: zoom into edges, hair, fabric, labels, or small product texture.
- File size: if the JPG batch is too large for email, use Araluma Compress after conversion, not before.
Don’t judge quality from thumbnails. Thumbnail grids hide mushy edges, bad color shifts, and a surprising amount of compression damage. Open the actual JPG.
HEIC to JPG Mistakes That Waste Time
The first mistake is renaming. Changing IMG_1420.heic to IMG_1420.jpg changes the label, not the image data. A picky upload form can still reject it, and a less picky one may accept the name but fail later when it tries to process the file.
The second mistake is mixing originals and exports in the same folder. If Windows hides file extensions, the grid looks clean while the batch is half HEIC and half JPG. Turn on file extensions or sort by Type before upload.
The third mistake is compressing too early. A HEIC file can be small already, but the recipient may not care about the bytes if their system only accepts JPG. Solve compatibility first. Then, if the exported copies are heavy, compress the JPGs or read this guide for the same compatibility logic in a different format.
One more: do not turn a photo batch into PDF just because a form has one upload slot. If the recipient asked for individual JPGs, send individual JPGs. If they asked for one review file, then use this PDF walkthrough after the conversion is done.
When to Keep HEIC Instead
Keep HEIC when you are archiving phone originals, editing later, or sharing inside an Apple-heavy workflow. It exists because storage pressure is real (especially on older low-storage phones), and Apple built the format choice around that reality.
Export JPG when the next system is Windows-first, web-form-first, or client-first. That includes older CRMs, marketplace admin panels, email threads with mixed devices, and anything that says JPG or JPEG in the upload hint. If a different modern format gets rejected, the same logic applies; another conversion walkthrough uses the same “make a copy, verify, then upload” pattern.
For email, do not let format conversion become the only fix. A JPG can still be too wide or too heavy for a message. Convert the HEIC originals, open the JPGs, then compress for email only if the attachment set is still the problem.
Keep the HEIC folder until the upload is accepted. Delete the copies later if you want, but do not throw away the masters while the Windows form is still deciding whether it likes your exports (the unglamorous backup is the useful one).


